
Because everyone needs a witch pumpkin on Halloween. That's why. Plus, it's something really fun to do if you have a special little person in your life.
First, get said little person ready for some messy fun.

She was so excited she could hardly contain herself. Not that she even knows what containing herself at this point in life looks like. Nor should she.
Oh yes, and here is all the stuff I used that went into this project.

pumpkin with a good stem
old, black t-shirt
hot glue gun
hot glue
black, permanent marker
poster/craft paint
a plate, or some sort of round object
black and white scrapbook paper
cardboard
scissors
fleece scraps
twine-type "stuff"
fabric scissors

I didn't have any green paint, so I used yellow and blue mixed together.

This was Daisy's favorite part. She wasn't happy when it was all finished.

While our pumpkin was drying we started on the hat. First I used the plate to get a nice, round circle and traced it on the cardboard. Then I cut it out.

Next I laid out an old, black t-shirt and used the cardboard piece and a crayon to trace the shape onto both layers of the shirt. I realized after I cut it out that it needed to be a tad bigger than the cardboard piece. No biggie. I just cut another one. I cut through two layers of shirt, the front and back.

Then I sewed the black pieces together with a 1/4 inch seam, leaving a few inches open. (This is where I would slide the cardboard piece in.)

I forgot to take a few pictures, but I'll try to explain. Basically I just turned the black t-shirt circle right side out. Then I rolled the cardboard up so it would fit into the open slit, flattened it out, and then sewed the opening shut.

To make the top of the hat I again used cardboard. I rolled it like this to see about how big I would want it.

Then I hot glued it together.

Then I took more black t-shirt scraps and wrapped it around the cardboard, hot gluing it down.

I just tucked the bottom up into the cone, gluing that down as well.

Then I hot glued the cone to the disc shape. Can you tell I like hot glue? It's wonderful.

You can use whatever embellishment you want here. I used straw type stuff and tied it on.
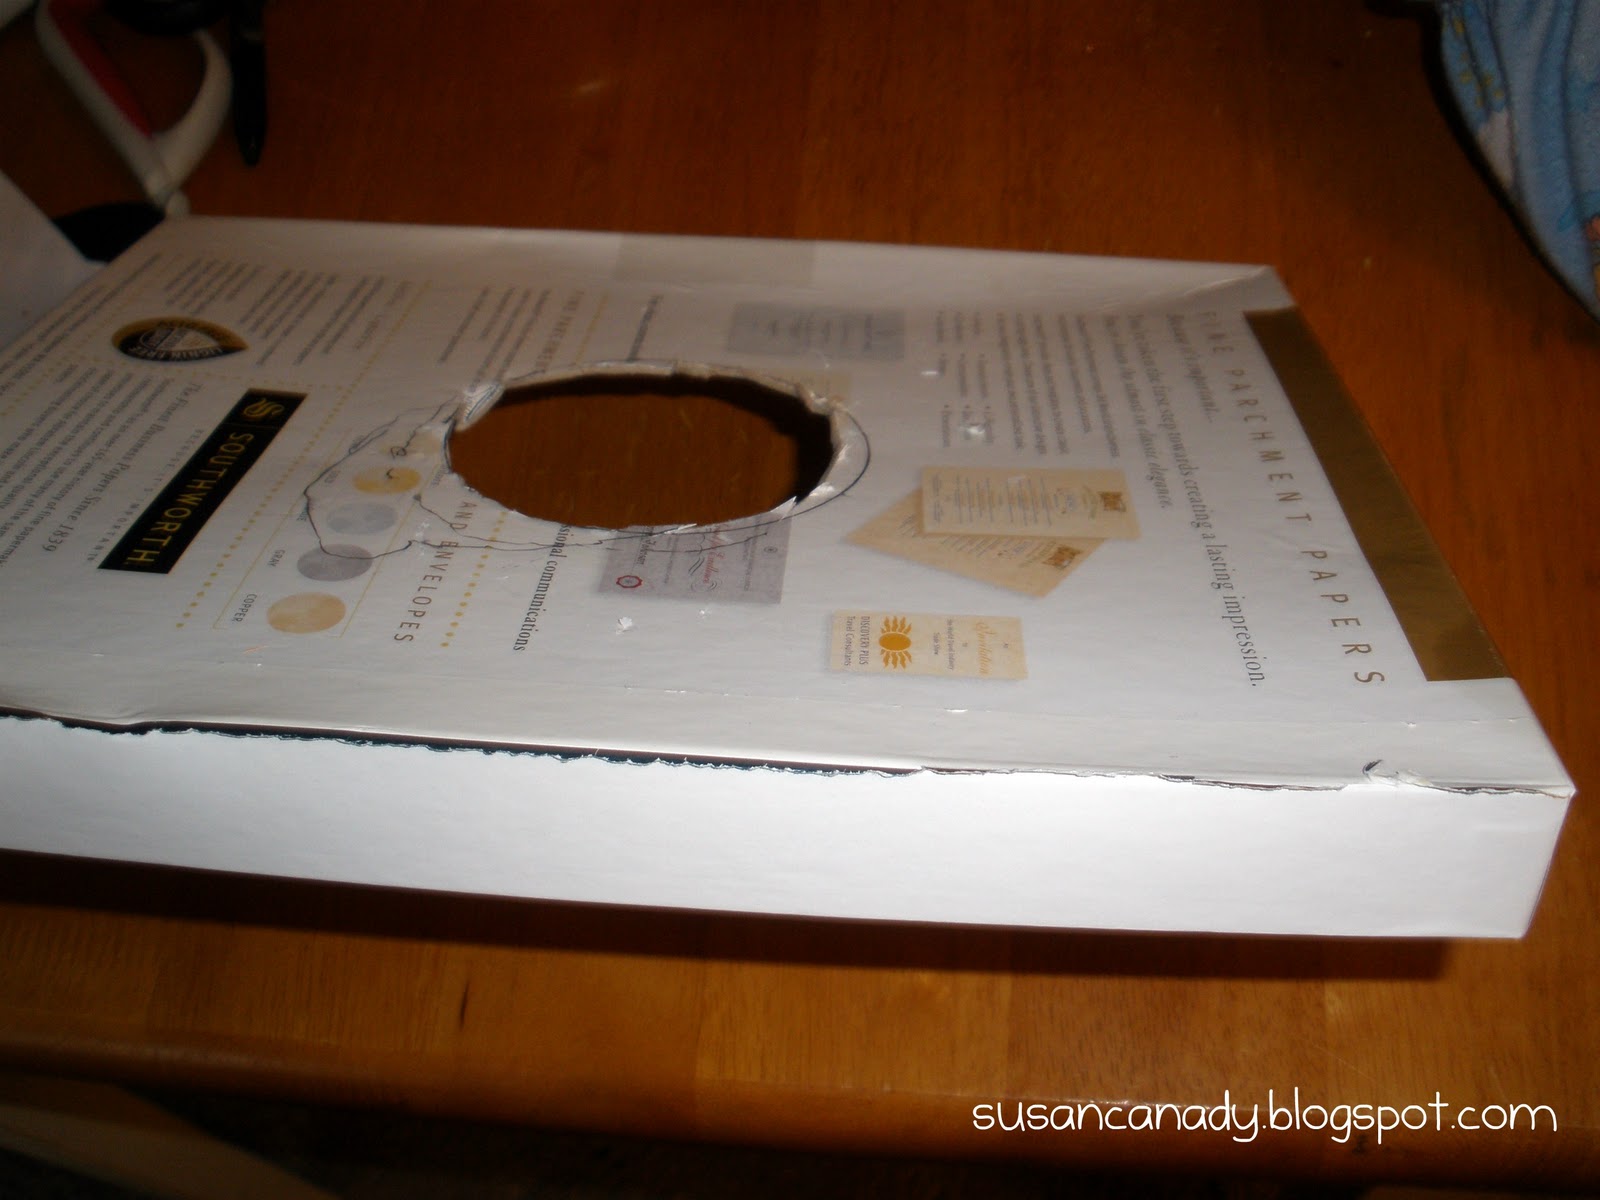
I then realized I was going to want my witch pumpkin to stand on it's side and it wouldn't do this on it's own, being round and all. So I found the bottom of a box and cut a circle in the center of it.
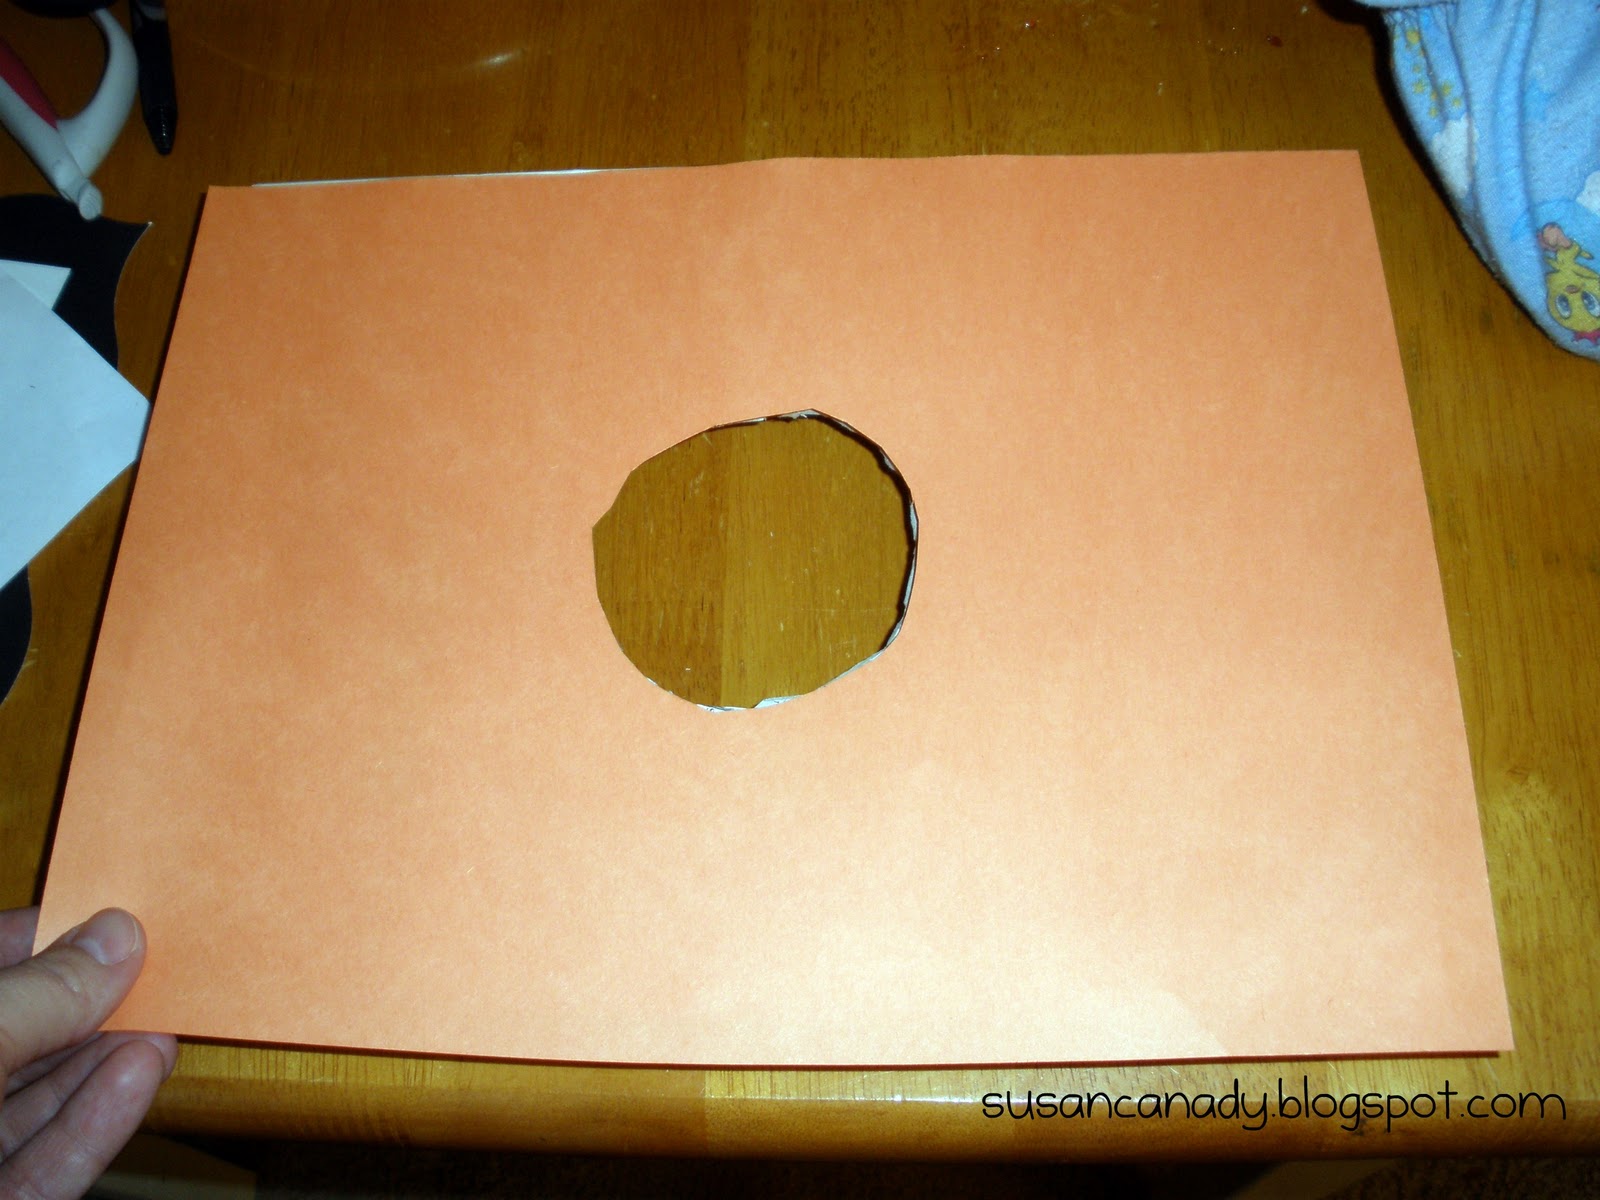
Covered it with construction paper.

Daisy liked this part. This is when she really started to come together. Black and white scrapbook paper for the eyes.

For the hair, I cut out several strips of fleece. You could probably use felt, or really any kind of material you have lying around.
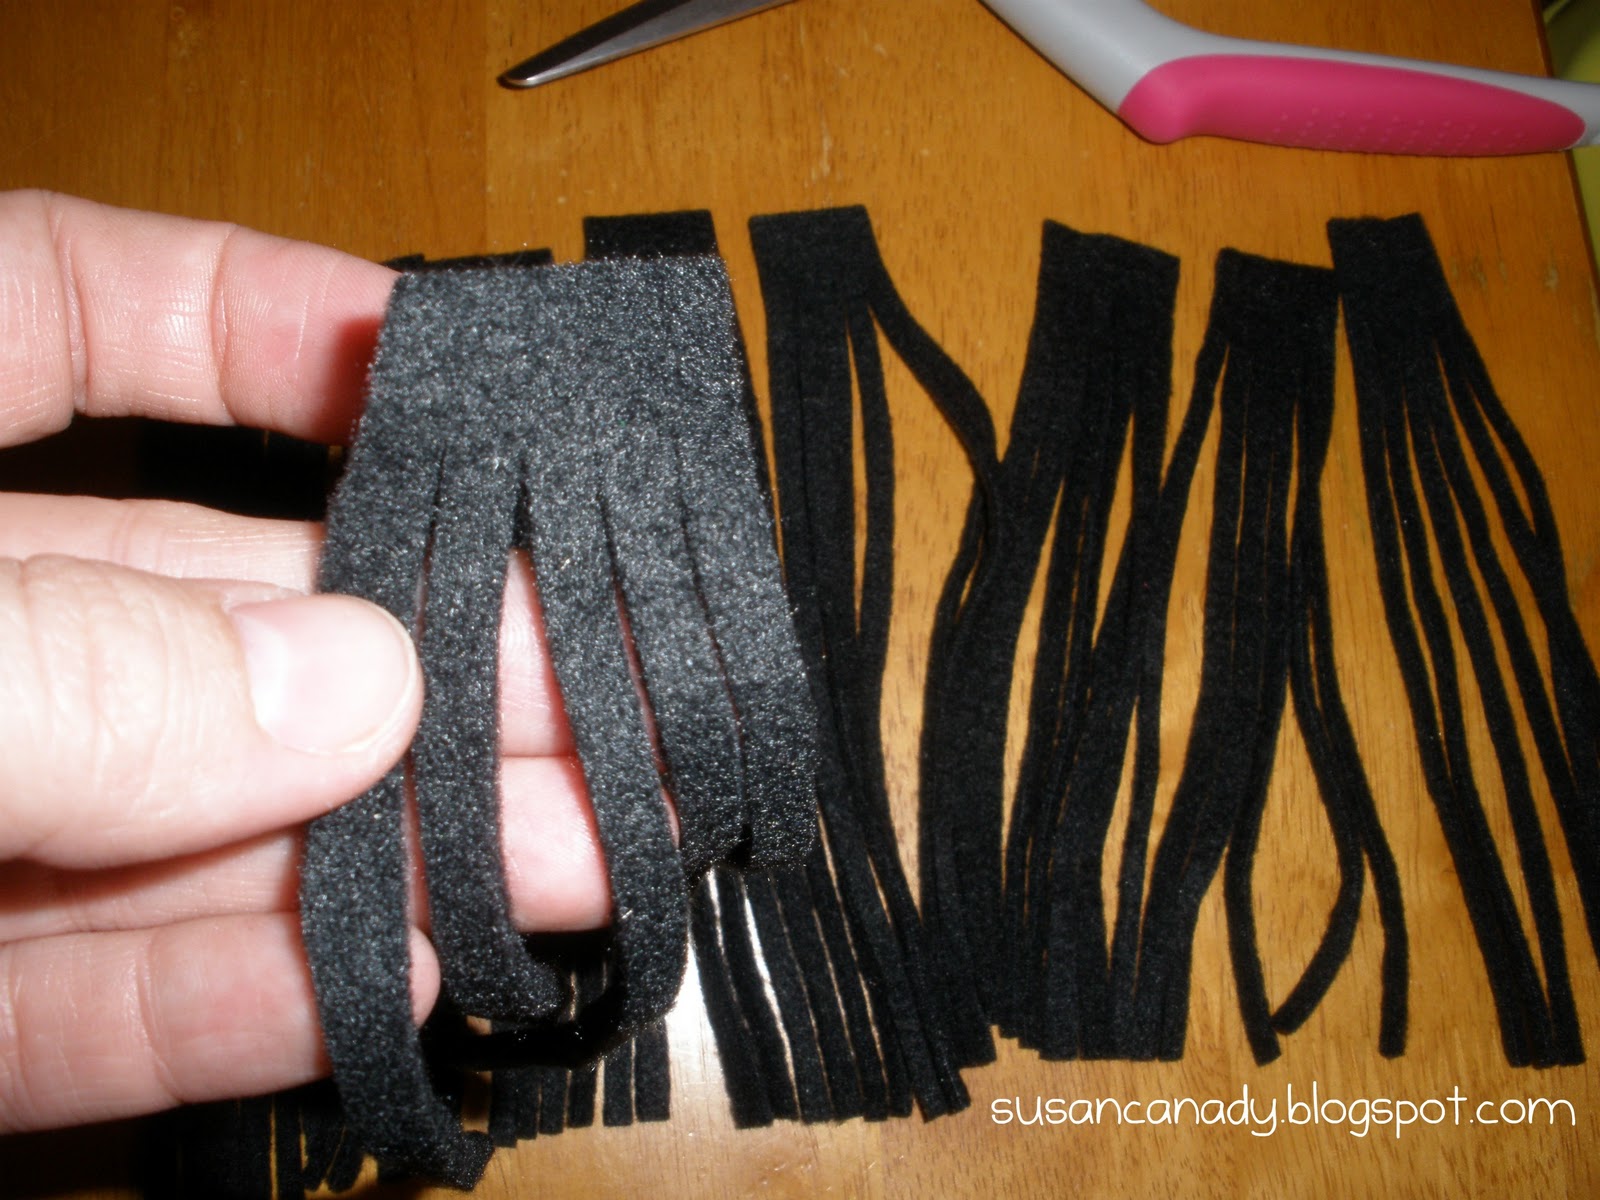
Then I cut those strips into smaller strips, stopping about 1/2 inch or so from the top.

Hot glue again. Yay! I just glued the strips on the top of the "head" so that they hung down like hair.

Add the hat (hot glue again).

Draw on a pleasantly angry mouth and there you have it!

The stem of the pumpkin plays a big part. Make sure it's a good one!
Happy Halloween!
Whoa. Way to persevere with all of those pictures! Looks a-dor-able!
ReplyDeletethat is so cool! the little bump next to the stem is perfect because it looks like a wart :) i'm not showing my kids this though because they will then want you to be their mom, especially madelyn ;) oh okay. i'll show it to them tomorrow.
ReplyDelete