

It really was so easy that I'm not sure it bears a walk through, but here we go...here's the stuff I used. A straight edge cutter, scissors, stickers, scrapbook paper, and a hot glue gun (not pictured). I found a font in Google Docs that I liked, and printed out "meats", "fruits" and "veggies". I should have gotten a better "before" pic of the buckets, but you can kind of see them here.

Contrary to my usual process I did NOT use a measuring tool! I know. I'm branching out. I held the paper up to see where I should cut, and cut it to fit the sides and the lid.

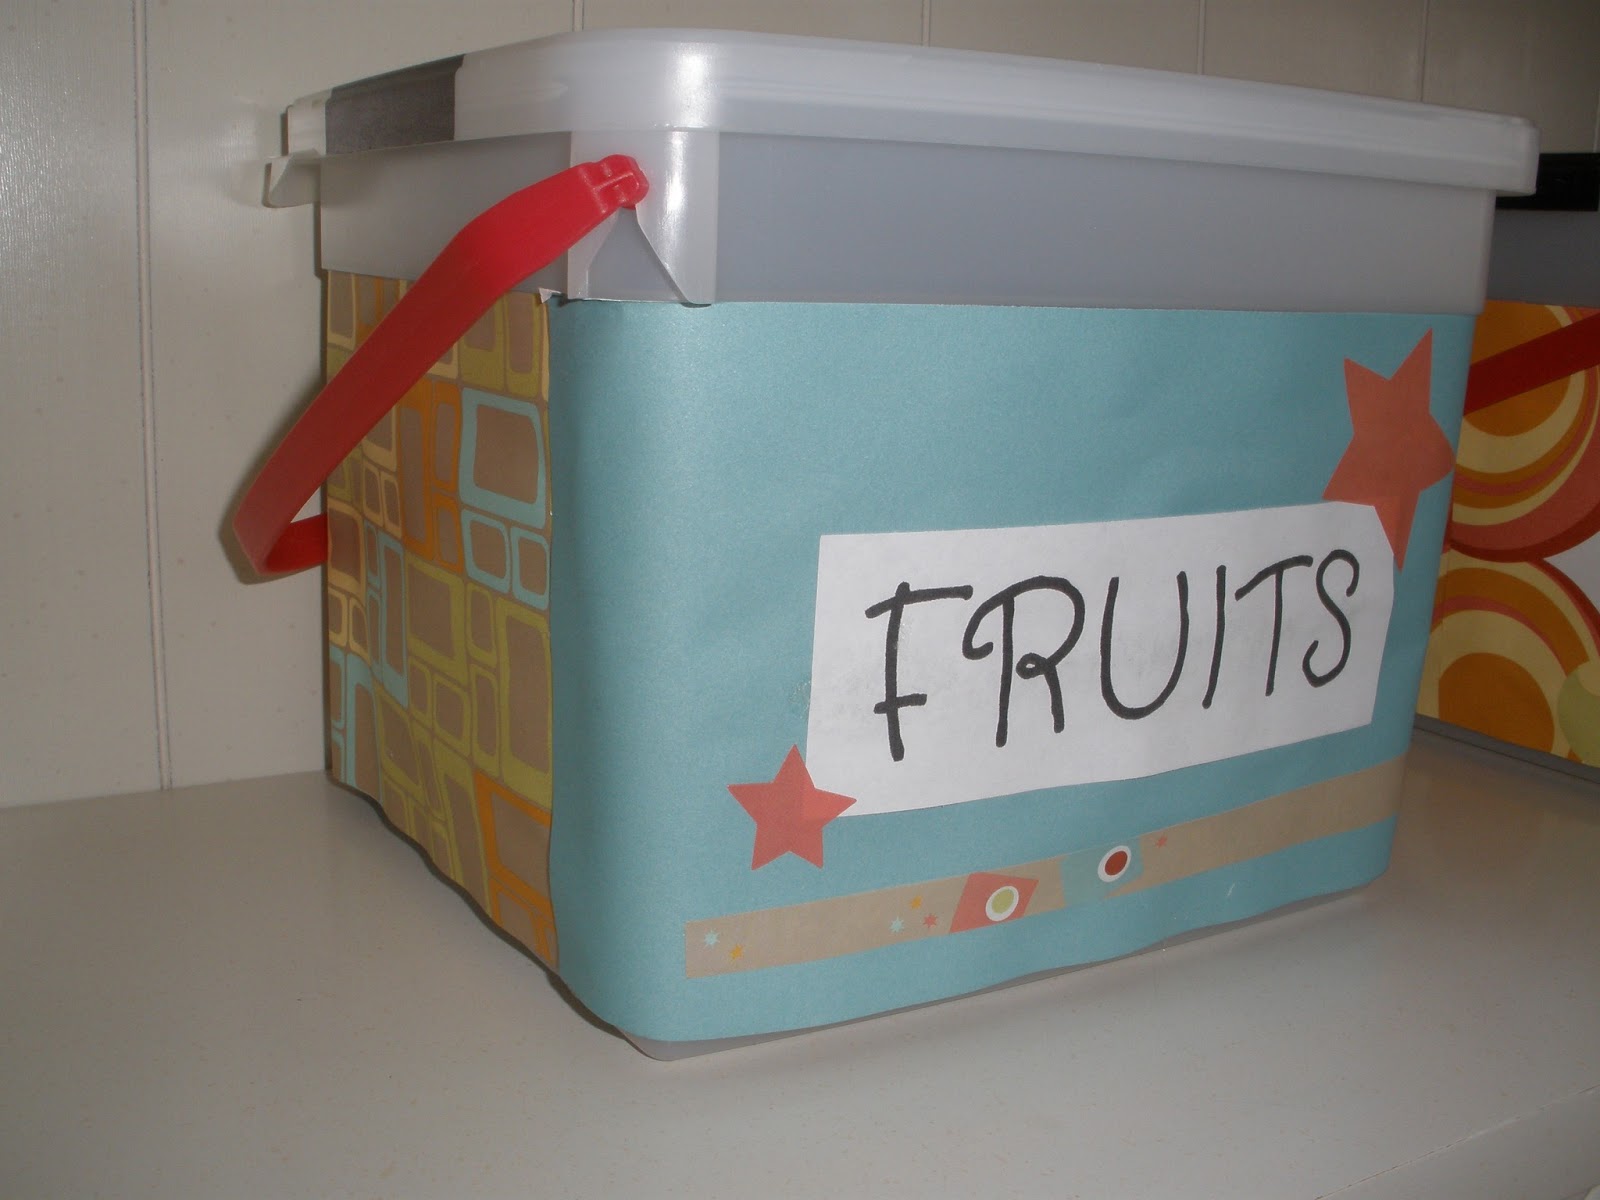
I cut around my titles and glued them to some paper. Glued the paper all around the bucket, added some stickers, and voila! No more ugly buckets on my shelf!

See that black bar at the top on the lid? It used to have the flavor of ice cream written on it in white letters. At first I tried using a green marker to color them in because it was a green bar, but that didn't work so well. You could still see the white through the green. So in the end I just broke out a black permanent marker and colored over all of it. I like this much better.
I contemplated removing the red handles but in the end decided to keep them. They will be more handy if I ever need to move the buckets around and aren't too much of a distraction for me.
Of course I missed getting a good picture of the tops. The lids all have the matching design paper coordinating with the sides. I'm very happy with how they turned out! It only took me two afternoons (would take only one if you don't have three little monsters interrupting you every 2 seconds. :) so it wasn't very time consuming at all. You could do this with any bucket or storage container you have lying around. Or if you're like me and you have an ice cream addiction, an empty ice cream bucket works PERFECTLY! :)
Nice! I'm going to have to try that - I have at least one of those ice cream bins and also a ton of baby food.
ReplyDeleteYou should! It was really quite easy and looks so much better!
ReplyDelete