
Our family loves Charlie Brown. While in the dollar store the other day I stumbled on these cool little styrofoam balls and was struck with some inspiration! I went home and ordered It's the Great Pumpkin, Charlie Brown online. Then I kicked myself when I saw it in WalMart for cheaper a couple days later. Oh well, we're talking cents cheaper but it still hurt me.
My girl and I had a lot of fun making this after reading the book, and it was CHEAP! I already had the sticks, grass, and pipe cleaners so I just spent 2 bucks on the styro things.
Here's what you need:

1. 1 styrofoam block
2. 1 bag styrofoam balls
3. jumbo craft sticks (the little ones would work too)
4. green pipe cleaner
5. orange craft paint
6. paint brush
7. It's the Great Pumpkin characters coloring pages
8. (not pictured) toothpicks
9. (not pictured) coloring pages of the "welcome great pumpkin" sign and the snoopy/moon silhouette.

First I had Daisy color the characters while I got the styro balls ready to paint.
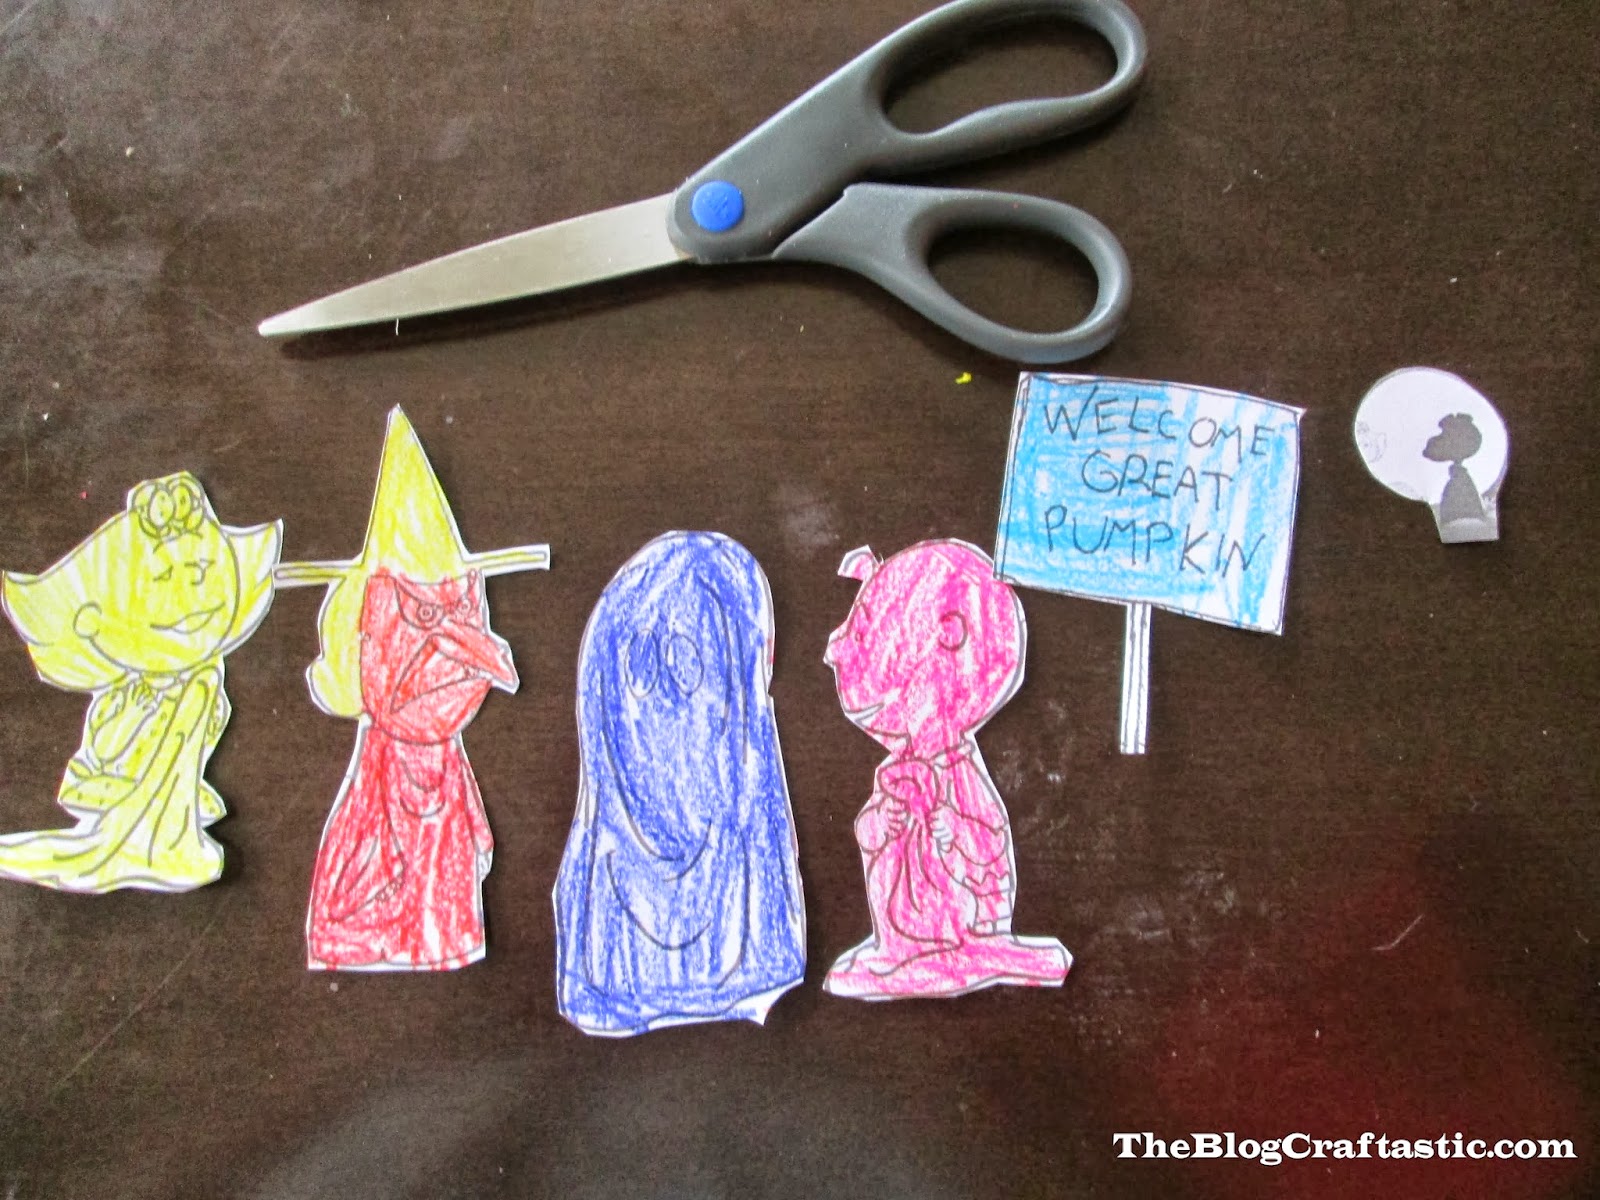
Then we cut out the colored characters. I actually ended up going back to Google and looking for a Snoopy silhouette that was bigger. I'm glad I did because the end result is better, I think.

Then we glued the characters to the jumbo craft sticks. You could use the skinnier sticks too. The big ones were just what I already had.

I think painting our styrofoam balls for the pumpkins was the most fun.

We stuck the balls onto toothpicks to make them easier to paint.

Yup, that's my boy, painting his hand. He takes a little prodding to stay on task.

If you happen to have a block of styrofoam lying around, you can use that to stick the balls on to dry. I happen to make a lot of cake pops, so I did have this. I just flipped it over and used the underside.

If you don't have styrofoam, an empty egg carton would do the trick too. Or an upside down paper cup.

Once we were done with the characters and the pumpkins, I started looking at the green styrofoam block I had picked up for our scene. I realized I was going to want it a little bigger than it was. Since it was pretty thick, I simply just cut it in half with a serrated knife.

I told Daisy she couldn't help me with this part, because hot glue is very hot and should only be used by adults. And then I burned myself.

I glued the two pieces together, making a larger surface area for our little pumpkin patch scene.

I tried using Elmer's glue first to glue down the grass, but it didn't work. It just wouldn't stick, even after holding it in place for a while. So, back to the hot glue.

There wasn't really any rhyme or reason to how I put it on there, just stuck it all over. Now the fun part, putting it all together!

Daisy decided where everything should go. And I can't believe I forgot to take pictures of the pumpkins. Keep them on the toothpicks since you will use that to stick them down into the grass. Some toothpicks may be too long and you will have to cut them. Then take a green pipe cleaner and poke one end down into the top of each pumpkin, and cut it off.

And there you go! A great, easy little craft to do with your kids!
Hi, I don't think we've met but I knew Josh from school & Jammin' Java. Just wanted to leave a note to say this craft is so cute! I'll be doing it with our girls this week, thanks for the idea! Haven't been able to check out the rest of your blog, but I'm excited to :) Jess (Gray) Taylor
ReplyDeleteAwesome! Glad you like it! Very nice to meet you in the cyber world. ;)
Delete:) Nice to meet you too! We made this craft today and my girls loved it, thanks again! Looking forward to see your other crafts! I put the link on my Facebook page too, I hope that's ok, and that it sent some more folks to your site.
ReplyDeleteMore than okay..that's awesome! Thanks!
Delete