I love to be organized. It's easier to find things, the day runs more smoothly, and my stress level stays low. Not to mention the kiddos. They can feel it when i'm stressed, even if I'm really good at covering it. I work really hard at staying organized, because I know the effects that disorganization can have on us. Granted, I fail miserably sometimes; it seems to be always a work in progress. So here is one little step I've taken towards my goal to be organized:

It's such a little thing, yet it has brought a little more organization to my desk/office area. My "desk" is actually an old, small kitchen table that the husband and I bought when we were first married. As our family grew, so did the kitchen table and this has become the "desk". I would love to have an actual desk, but we just don't have the place for it at this point in the game. So I have found that I just need to get a little creative with the organization and also that I have to stay on top of it. With no files or drawers it is essential to keep the mail, bills, etc in check.
It's such a little thing, yet it has brought a little more organization to my desk/office area. My "desk" is actually an old, small kitchen table that the husband and I bought when we were first married. As our family grew, so did the kitchen table and this has become the "desk". I would love to have an actual desk, but we just don't have the place for it at this point in the game. So I have found that I just need to get a little creative with the organization and also that I have to stay on top of it. With no files or drawers it is essential to keep the mail, bills, etc in check.
I have a lot of receipts that I need to keep track of for the cake pop business, so this is so far proving to be very helpful. Our days are always busy, so I never really have time to file receipts as I go. Receipts get tossed in here until the end of the month when I take them out, put them in chronological order and file them away in a manilla envelope. This would also make a great short term file for coupons. I'm thinking of making another one to hold coupons that I pull to use from week to week.
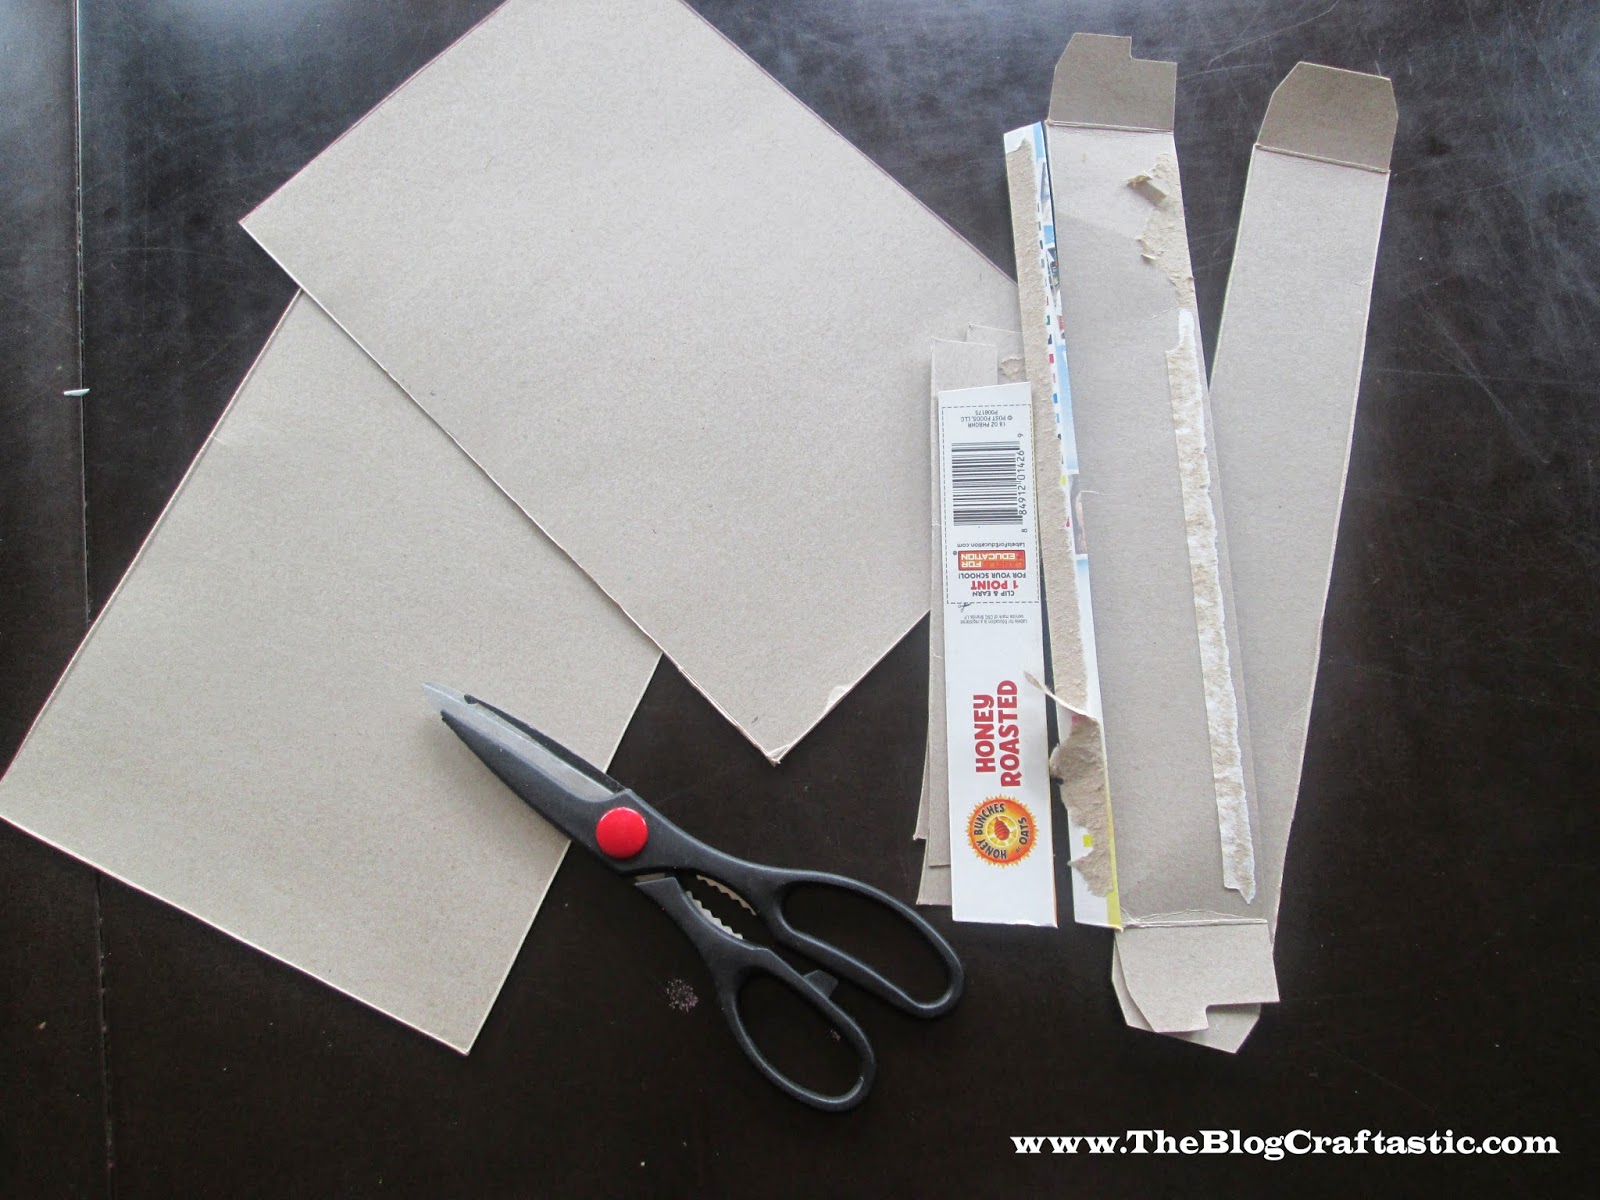
I didn't know what all I would use when making this so I just grabbed a bunch of stuff from my craft stash. And it's simple, really. Here is what I ended up using:
1. Cardboard cereal boxes
2. Scissors
3. Double Sided tape
4. Scrapbook paper
5. Letter stickers
6. Packing tape (not pictured)


I didn't know what all I would use when making this so I just grabbed a bunch of stuff from my craft stash. And it's simple, really. Here is what I ended up using:
1. Cardboard cereal boxes
2. Scissors
3. Double Sided tape
4. Scrapbook paper
5. Letter stickers
6. Packing tape (not pictured)
First thing I did was cut into the cardboard and cut off all the edges.
Then by eyeing the area where I knew I wanted it to hang, I gauged what size I wanted the rectangle, then used a straight edge to draw a cutting line.
I held the front and back sides up to the wall to see how big I wanted the opening to be. It was about 3 inches. I measured 3 inches and drew a line.
then at the other end I measured 1.5 inches and marked it with a dot.
Then I used a straight edge to draw lines connecting all three points to make my triangle for the side of the wall file.
On a side note, can anyone tell me why my hands always look so deformed in pictures? On second thought, don't tell me. We will just all agree that I take very bad hand pictures. Moving on..
I've got the triangles cut out, now it's time to tape everything together. I used packing tape, but any kind of tape would probably work. Unless you need the strength of the packing tape b/c you're going to file really heavy receipts. Or your rock collection. Then you probably want to go with the packing tape also. But that's just my opinion.
I put a strip of tape on one side of the triangle,
then I used the corner of my table to make sure it stuck at an angle.
When I taped the other side, I had a little trouble with the tape not wanting to stick into the corners, so I just used the tip of my pen to get it right up against the other side. Any overhanging tape like you see in this next picture I just bent over the side.
Finished! Now I just had to cover it and make it more pretty and less cereal-boxey.
Oh, also you might notice that the front panel is shorter than the back panel. After I had them cut out I realized for it to hang the way I wanted it to they couldn't be the same height, so I cut off like an inch, inch and a half from the top of the front panel, and then in turn had to cut the side triangles at a slight angle so that it came down to meet the top of the front panel. This probably all sounds gibberish at this point, but this project is really something that you can kind of figure out as you go.
For the scrapbook paper I just laid the file down and traced it and then cut them out and taped to the front and sides.
You can see the triangle here is a little taller than the front panel. That was before I fixed it. It was pretty simple just to cut it after it was taped together.
Slapped some letter stickers on it and that was it!
Very quick, simple, and together in no time. Now my receipts have a home, I spent no money out of pocket, and I am a little less cranky. Which, let's be honest, is better for everyone.
Happy organizing!
Great idea! About two months ago I started a candle company, so I have the receipt problem also.
ReplyDelete